SSO and account provisioning in one page (8 min)
Understand OIDC-based SSO login, IdP user and group provisioning, and OIDC clients for automation.
By the end of this tutorial
- You have a single diagram showing that D.Hub SSO uses OIDC and how identity data moves between the IdP and D.Hub.
- You can distinguish three identity sources — local user, IdP user, OIDC client for automation — along with their operational risks.
- You can explain which users each group type accepts and when membership is editable from D.Hub.
One-line summary — D.Hub SSO uses OIDC. User and group registration and sync import IdP data; with a write-capable IdP, admins can also manage SSO group membership from D.Hub. Automation uses a separately issued OIDC client.
1. Authentication separates from authorization (30 sec)
D.Hub keeps authentication (who you are) and authorization (what you can do) as separate concerns. This tutorial covers the authentication axis only — for permissions, roles, and policies, see Permission model at a glance (7 min) as the companion.
| Axis | Entry surface | Covered here |
|---|---|---|
| Authentication (login) | Login screen; the upstream IdP connection is configured at deployment time | ✓ |
| User and group identities | Sidebar Settings → Users / Groups | ✓ |
| Resource permissions | The resource's Sharing & permissions dialog | — (separate tutorial) |
2. SSO login flow (1 min 30 sec)
Once SSO is configured, the login screen shows an SSO sign-in button alongside the local one. When a user clicks it, D.Hub redirects to the IdP, takes the IdP authentication result, and creates a session.
Loading the diagram. Mermaid source:
sequenceDiagram
    accTitle: D.Hub SSO sign-in flow
    accDescr: A user starts SSO in D.Hub, authenticates with the identity provider, and receives a D.Hub session in six steps.
    actor User
    participant Hub as D.Hub
    participant IdP as Identity provider
    User->>Hub: Select SSO sign-in
    Hub->>IdP: Redirect with login request
    IdP-->>User: Display IdP login screen
    User->>IdP: Submit credentials
    IdP-->>Hub: Return authentication result
    Hub-->>User: Start D.Hub session
Core facts:
- Standard — OIDC (OpenID Connect). Any standard-OIDC IdP (Keycloak, Azure AD/Entra ID, Zitadel, etc.) can integrate. The login button remains SSO sign-in regardless of provider. On the Users and Groups pages, the configured provider appears in the accessible name or tooltip of the Register button.
- No password stored — SSO users' passwords are not stored on D.Hub; the IdP is also authoritative for basic profile fields like name and email.
- Local and SSO co-exist — Local accounts can still live on the system after SSO is configured. Keeping an emergency-access local account is the standard operational recommendation (so an admin can still sign in if the IdP fails).
Why can't I find an Authentication menu? The current portal has no separate Authentication settings page. An operator connects the upstream IdP in the deployment configuration. Settings → OIDC Clients is for registering client credentials used by external systems; it is not where an admin connects Keycloak or Entra ID.
3. User registration — local vs IdP (1 min 30 sec)
Sidebar Settings → Users (/settings/users). Only admin-type users can enter. Select Create in the upper-right to open the Create User dialog for a local account. Register brings in an account from the configured IdP; its accessible name or tooltip includes the provider, such as Register Azure AD User.
| Identity type | Creation screen | Password ownership | Profile edit |
|---|---|---|---|
| Local user | Create → Create User | D.Hub stores it (admin can reset) | On D.Hub |
| SSO (IdP) user | Register | IdP authoritative (D.Hub does not store) | On the IdP; name and email are read-only here |
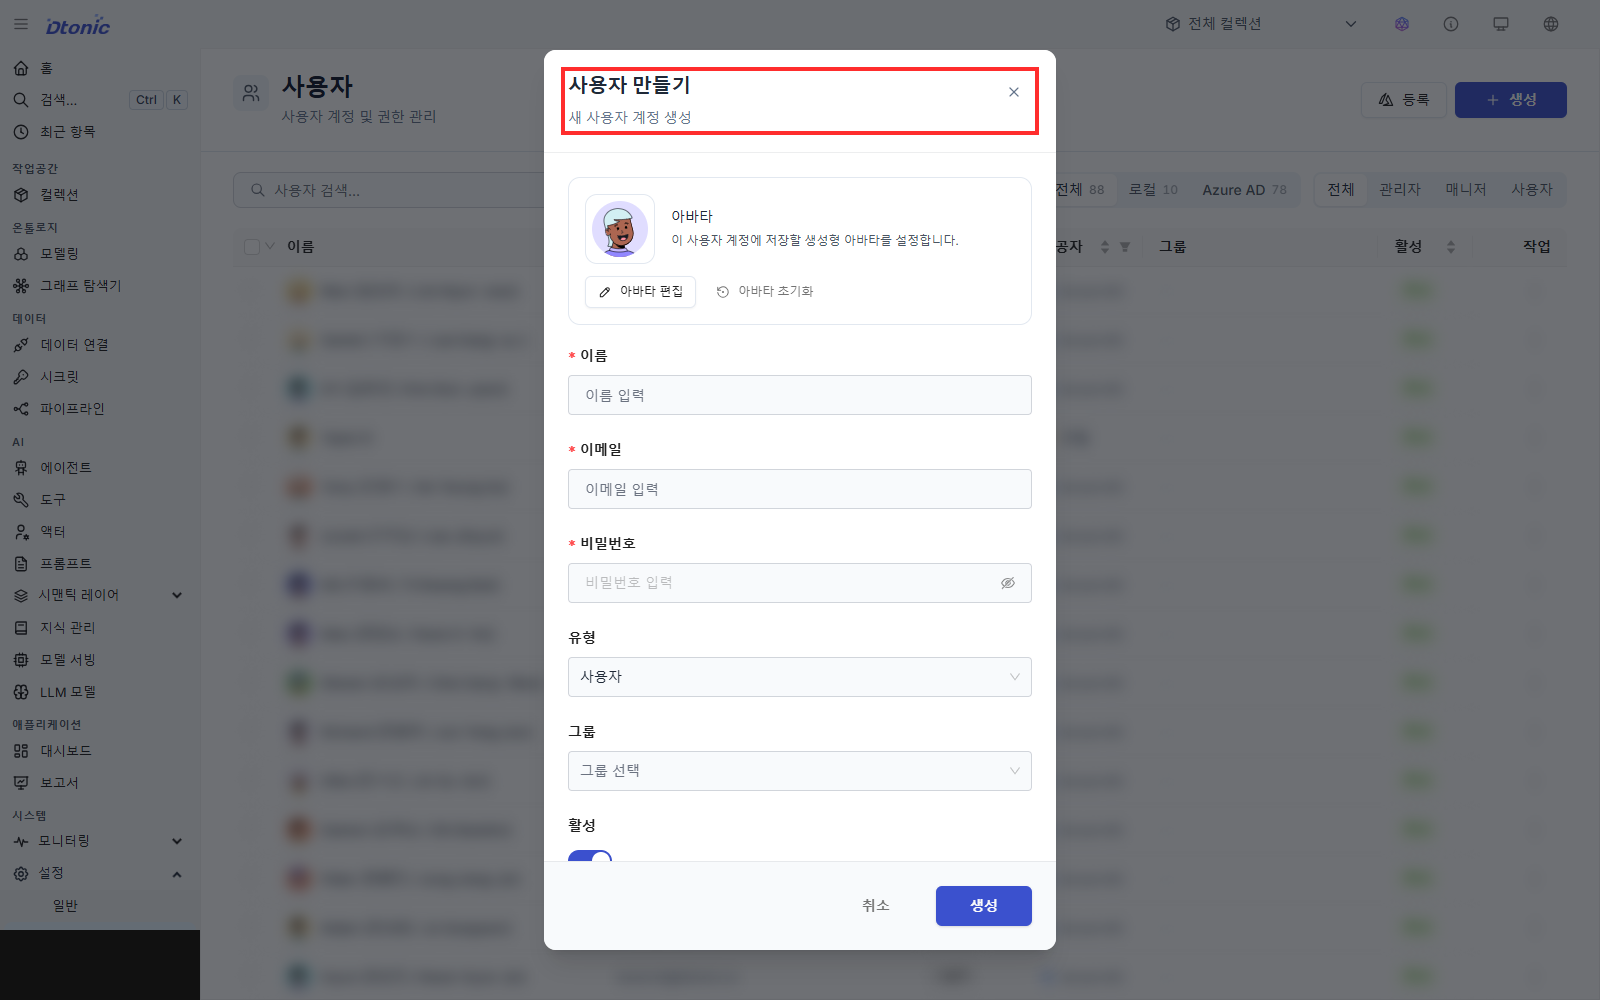
After registration, the admin assigns D.Hub-internal attributes:
- Type (role) — One of Admin / Manager / User. Determines reach into management screens.
- Group — A single user can be in multiple groups at once. Groups are the unit of permission grants.
- Active / inactive — Toggled instantly.
Operational notes:
- Local user passwords are at least 8 characters. An admin can issue a password reset, but cannot apply it to their own account.
- For SSO users, the row action Sync refreshes the profile against the IdP. Users deleted on the IdP get a notice in D.Hub.
4. Manage groups and members (1 min 30 sec)
Sidebar Settings → Groups (/settings/groups). Admin only. Select Create in the upper-right to open the Create Group dialog for a local group. Register brings in a group from the configured IdP; its accessible name or tooltip includes the provider, such as Register Azure AD Group.
- Local groups — Select Create and use the Create Group dialog. They can contain both local users and registered SSO users.
- SSO (IdP) groups — Brought in via Register and refreshed via Sync. They can contain SSO users only.
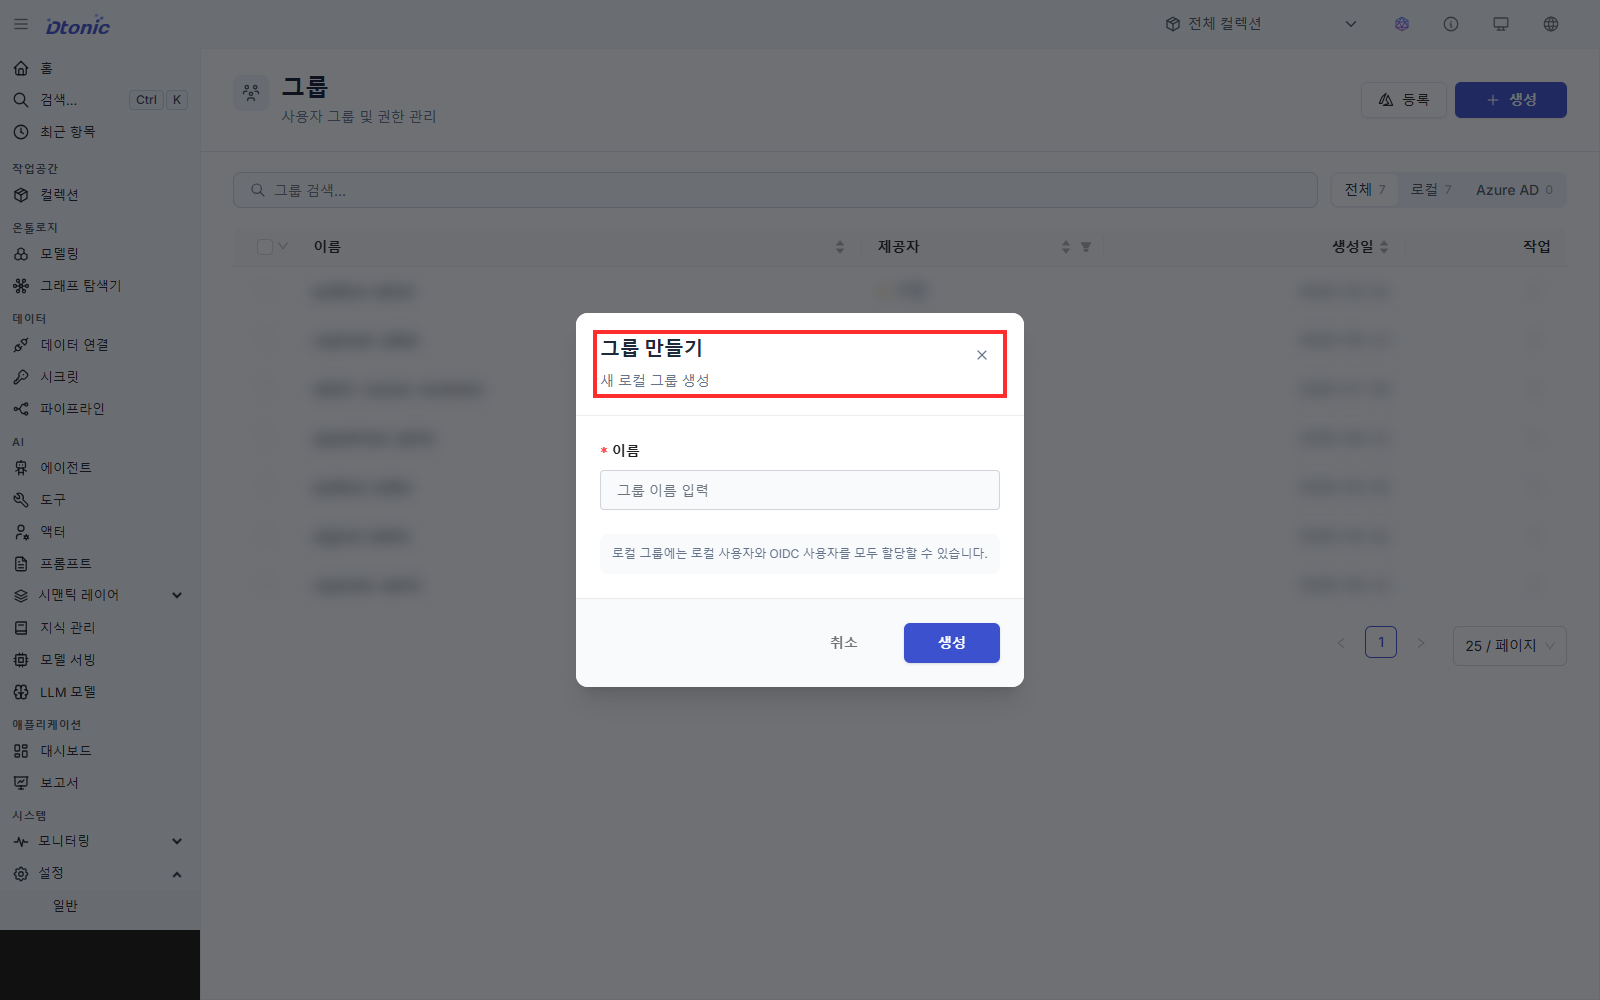
Open a group's vertical three-dot menu and select Manage members to view its membership. Whether you can add or remove members depends on the group type and the active IdP's write capability.
| Group | Eligible users | Edit membership in D.Hub |
|---|---|---|
| Local group | Local and SSO users | Yes |
| SSO group + write-capable IdP | SSO users | Yes. Changes are written through to the IdP. |
| SSO group + read-only IdP | SSO users | No. View members, change them in the IdP, then sync. |
An IdP with a supported management API, such as Keycloak, may be exposed as write-capable. With a read-only connection such as Microsoft Entra ID, Manage members shows an explanation and hides the add and remove controls. The configured provider capability, not the group name, determines this behavior.
Granting permission to a group means a membership change applies to access immediately — the single biggest lever for operational efficiency.
5. OIDC clients for automation (1 min 30 sec)
When an automation script or external system has to call the D.Hub API without a human login, you issue an OIDC client.
Entry: sidebar Settings → OIDC Clients (/settings/oidc-clients), then click Register.
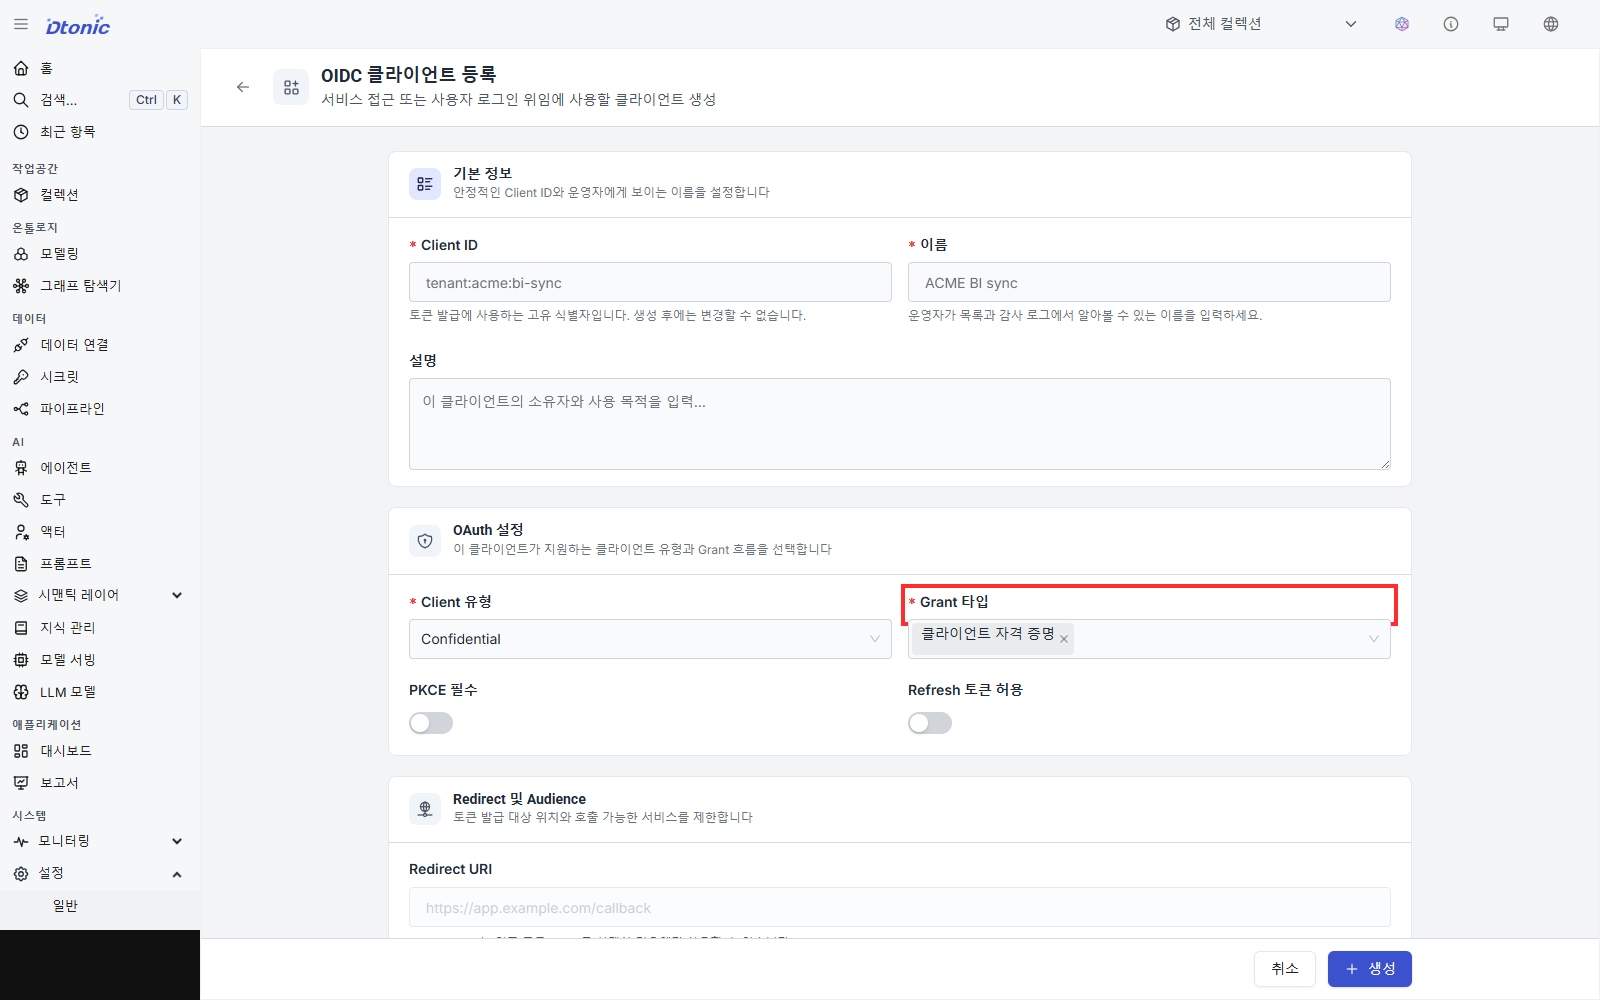
Operational risks and conventions:
- The secret is shown only at creation or rotation — moving it into a secure secret store (e.g. an in-house vault) immediately is the standard practice. No screen will show it again.
- One client per system — Reusing a single client across multiple automations widens the blast radius of any incident. One client per system is the operational recommendation.
- Secret storage — Credentials used by scripts and connectors can be stored under Data → Secrets (
/settings/secrets). - Revocation flow — On exposure, role change, or system retirement, rotate the secret or delete the client.
6. One-page review checklist
A format you can hand to security and legal right after the adoption meeting:
- Standard — Use OIDC and select the current IdP (e.g. Keycloak / Entra ID / Zitadel).
- Login paths — Decide whether local or SSO is primary and name the holders of the emergency-access local account.
- Provisioning direction — User and group registration and sync run IdP → D.Hub. For a write-capable IdP, confirm the membership changes that D.Hub writes back.
- Type distribution — Admin and manager holders are explicitly named. Admin reaches users, groups, OIDC clients, and system settings.
- Group practice — Local groups accept local and SSO users. SSO groups accept only SSO users, and D.Hub editing depends on whether the IdP is write-capable.
- Automation auth — Issue and rotation procedure for OIDC clients. The vault-loading SOP under the secret-exposed-once policy is locked in.
- Account revocation — Whether deactivating an SSO user is enough or deletion is needed, decided per internal policy.
Next steps
- For permissions, roles, and policies at the same page depth, see Permission model at a glance (7 min).
- Once users and groups are registered and synced, narrow further down to dataset columns and rows via Column and row masking — from FGAC policy authoring to rollout — if SSO is the axis that binds who, FGAC is the axis that narrows what.
- Screen and field names in this tutorial follow the current portal's Settings sidebar. The upstream IdP connection itself is deployment configuration and therefore is not shown as a portal menu.